

Last updated September 2026 · By Nick Hall, who has bolted down 400 lb safes to concrete and to engineered wood floors
Some of the links below are affiliate links, meaning at no additional cost to you, we may earn a commission if you click through and make a purchase.
- Treat every gun as loaded
- Point the muzzle in a safe direction
- Keep your finger off the trigger until you’re ready to shoot
- Know your target and what’s beyond
Table of Contents
An unbolted safe is a liability, and I don’t care what it weighs. Two people with a hand truck and a van can have an unsecured safe out of a house in ten minutes. Bolting it down is the cheapest security you will ever buy, and it takes an afternoon.
To bolt down a gun safe on concrete, position it, mark the four anchor holes, drill with a hammer drill and a masonry bit that matches the anchor, blow the dust out, then set wedge anchors and torque them to the figure the anchor maker publishes. On a wood floor, hit the joists with lag bolts, using a clearance hole through the subfloor and a smaller lead hole in the joist itself.
The part almost every guide skips is which anchor your floor can actually take. Anchor size isn’t a preference. It’s set by how thick your concrete is, how close to an edge you’re drilling, and how far the fastener reaches into the wood.
I have done this on a slab and on joists, and the slab job is the easy one. So this guide gives you the published numbers, not a shrug.
How we tested: Every pick here is ranked against our testing methodology. Minimum round counts, accuracy and reliability protocols, the failures that disqualify a gun. Where we have not shot a specific variant ourselves, we say so in that section.
Why an Unbolted Safe Is the Whole Problem
Burglars don’t crack safes in your living room. They take the whole box and open it later somewhere quiet, with power tools and all the time in the world. An unbolted safe, however heavy, goes onto a furniture dolly and out through the door you left open for them.
Liberty put the prying problem well in their own setup guide. Tip a safe onto its back and a pry bar gets purchase on the door that it will never get with the safe upright, which is why they call anchoring the single most effective step you can take.
Then there’s the part nobody thinks about until it happens, and it’s the one that changed my mind about anchoring a safe that was already too heavy to steal. A tall safe with a loaded door swung open is front-heavy, and a child pulling on that door can bring the whole thing over. Liberty raise the same risk in their anchoring guide, and it’s the reason to bolt down even a safe nobody could steal.
What You Actually Need
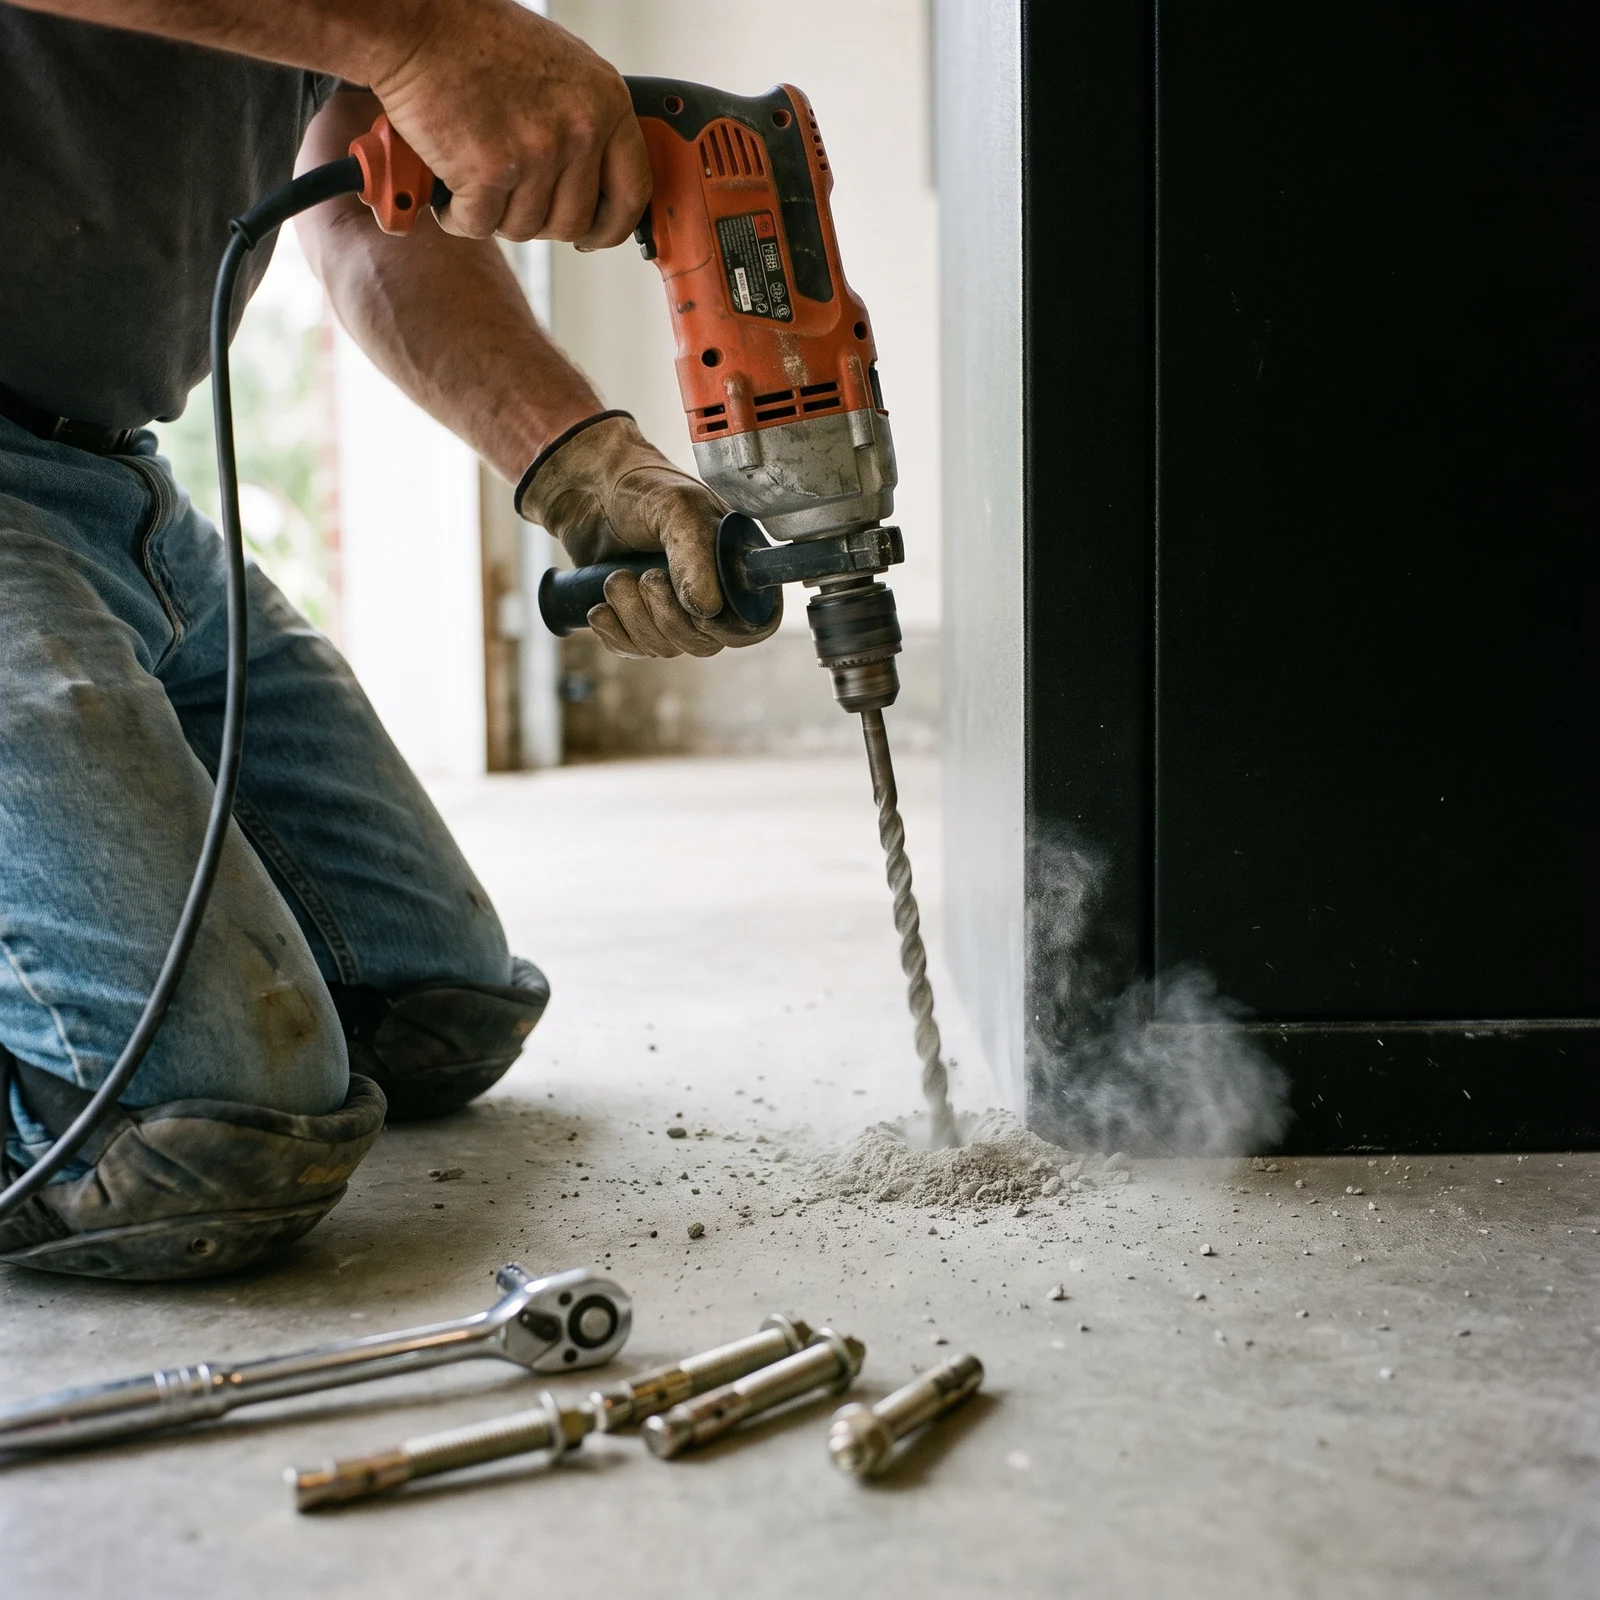
Get everything together first. Nothing kills an afternoon like finding out mid-job that your bit doesn’t match your anchor.
| Item | Concrete | Wood | Notes |
|---|---|---|---|
| Hammer drill or rotary hammer | Required | Not needed | A regular drill will not cut a slab |
| Standard drill | Not needed | Required | For the clearance and lead holes |
| Masonry bit | Required | Not needed | Same nominal size as the anchor |
| Wood bits, two sizes | Not needed | Required | Shank size and lead-hole size |
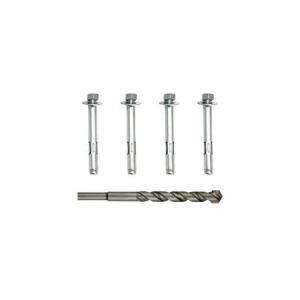
| Wedge anchors | 4x | Not needed | Size set by your slab, see below |
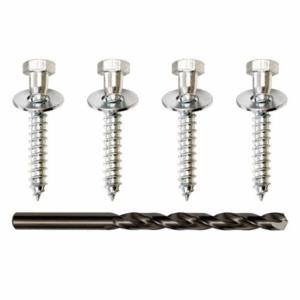
| Lag bolts | Not needed | 4x | Long enough to reach into the joist |
| Flat washers | 4x | 4x | Match the bolt diameter |
| Torque wrench | Required | Useful | The torque figure is published |
| Shop vac or blow-out bulb | Required | Optional | Dust in the hole costs you grip |
| Stud finder | Not needed | Required | You are aiming at joists, not plywood |
| Level and shims | Recommended | Recommended | Shim before you tighten |
| Safety glasses | Required | Required | Slab dust is nasty stuff |
Match the Anchor to the Slab, Not to the Safe
Here’s the number that changes the job. ICC-ES evaluation reports publish a minimum concrete member thickness for every anchor diameter, and it isn’t the same for all of them.
For the Red Head Trubolt wedge anchor, ICC-ES publish a minimum concrete thickness of four inches for a 3/8in anchor at its shallower embedment, five inches for a 1/2in anchor at its shallower setting, and six inches for that same 1/2in anchor driven to full depth.
Now put that against what is actually under your house. The International Residential Code requires only that floors shall be a minimum 3 1/2 inches thick. Four inches is the common pour, not the legal floor.
Read the two together and the standard advice falls over. At the code minimum of 3 1/2 inches, not one anchor on that list meets its published concrete thickness, because the smallest figure among them is four. At a genuine four inch pour, the 3/8in anchor at its shallower embedment is the only one that qualifies.
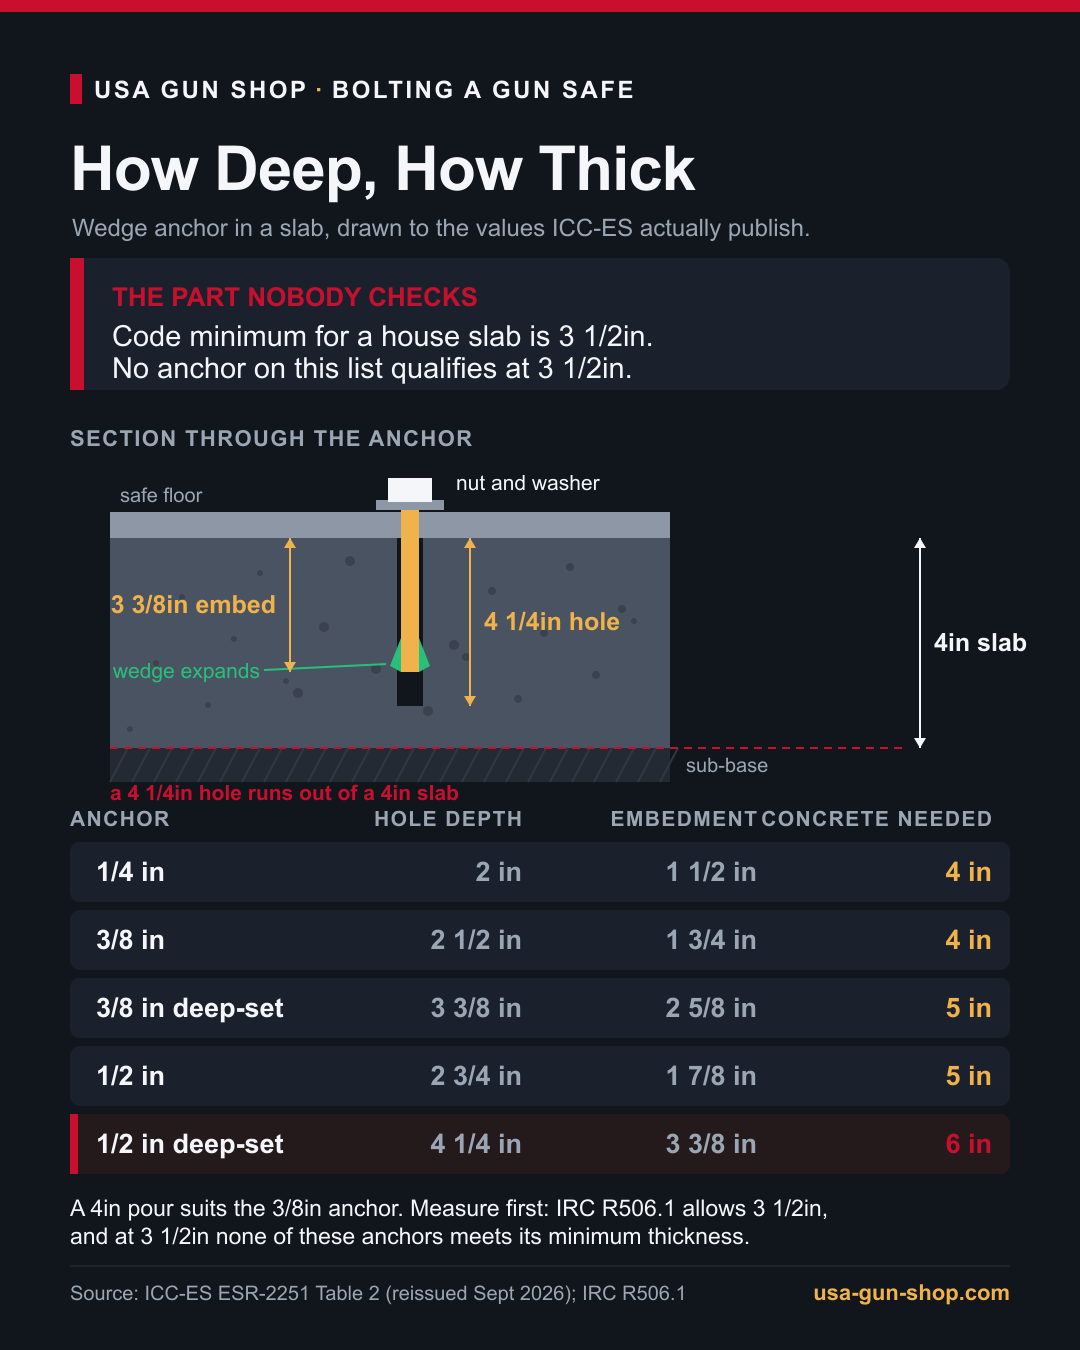
This is why Liberty’s own concrete kit calls for a 3/8in concrete drill bit rather than a bigger one. It isn’t them cutting corners. It’s the size that suits the floor most of their customers have.
So measure. A garage slab at a saw cut, a basement floor at a drain penetration, or the edge of a slab at a doorway will all show you the real thickness. If you can’t measure it, size for 3 1/2 inches rather than guessing upward.
- 3/8in anchor, shallow set: 2 1/2in hole, 1 3/4in embedment, 4in of concrete
- 3/8in anchor, deep set: 3 3/8in hole, 2 5/8in embedment, 5in of concrete
- 1/2in anchor, shallow set: 2 3/4in hole, 1 7/8in embedment, 5in of concrete
- 1/2in anchor, deep set: 4 1/4in hole, 3 3/8in embedment, 6in of concrete
How to Bolt a Gun Safe to Concrete, Step by Step
Concrete is the easy surface once the anchor size is settled. Give yourself an hour and don’t rush the dust.
Step 1: Set the Safe Where It Is Going to Live
Move it into final position and level it with shims. Once those anchors are set you aren’t moving it again without cutting them, so check the door swings fully and leave a couple of inches behind the safe for a dehumidifier cord.
Step 2: Mark Through the Holes
Open the door, lift the floor panel and pull the floor caps. Most quality safes have four pre-cut holes near the corners. Mark the center of each one on the slab with a masonry pencil.
If your safe has no pre-cut holes, drill them through the steel floor first with a metal bit, and keep them well in from the edges of the pan so the washer has something to bear on.
Step 3: Slide the Safe Clear and Drill
Move the safe off the marks. Drill each hole with a masonry bit the same nominal size as the anchor, and go to the hole depth in the list above rather than to a round number. Keep the drill square to the floor.
Then clean the holes properly. I vacuum, blow the hole out with a bulb, then vacuum again, and it still feels excessive every time. ICC-ES require the hole cleaned before the anchor goes in, and dust is the one variable on this job that costs nothing to eliminate.
Step 4: Set the Anchors
Slide the safe back over the holes. Drop each wedge anchor through the safe floor and into the concrete, with the nut and washer already on, and tap it down until the washer sits flat on the steel.
Drop-in anchors work differently. They go into the concrete first and get set with a setting tool before the safe comes back, then you bolt through them with an ordinary bolt. They’re the right choice if you think you’ll move the safe one day.
Step 5: Torque, Do Not Guess
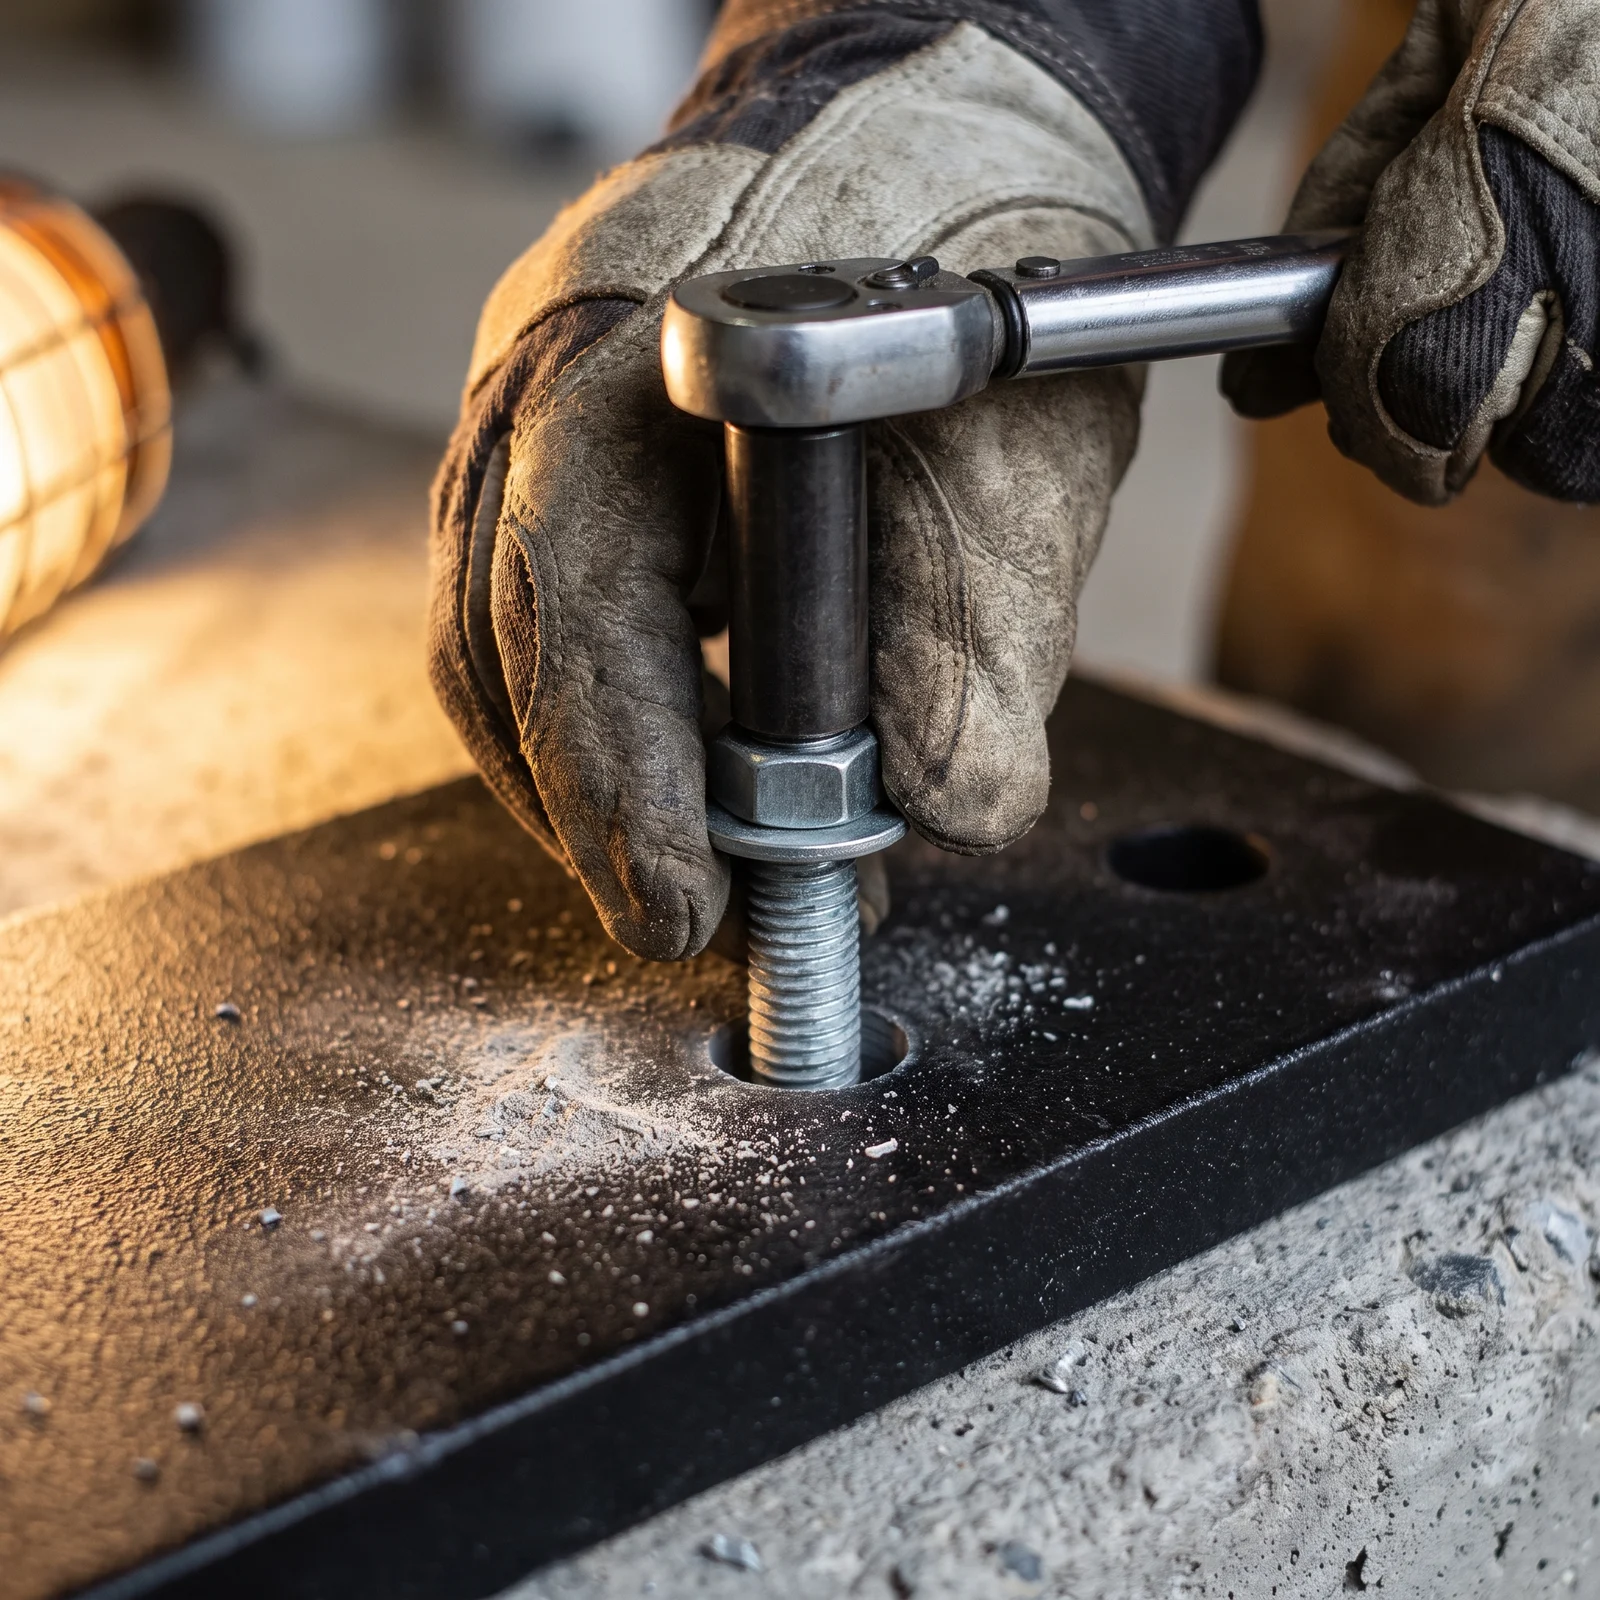
Every anchor has a published installation torque, and for the Trubolt it’s 25 ft-lb for a 3/8in and 55 ft-lb for a 1/2in. That’s the whole answer. Under it and the wedge hasn’t expanded; over it and you’re stretching the stud or cracking the slab.
Work around the four corners a bit at a time rather than pulling one down hard first. I keep a cheap click wrench in the same box as the anchors, because it’s the difference between an anchor at its rated load and one I have guessed at.
Live pricing from our retail partners
Edge Distance Is Why the Corner Is the Hard Part
Safes go in corners, against walls, and in garage bays with a control joint running past them. Every one of those is an edge as far as the concrete is concerned, and an anchor too close to one splits the slab instead of gripping it.
The published minimum is bigger than people expect. A 1/2in Trubolt needs 3 3/4in of clear concrete to any edge and the same again between anchors. A 3/8in needs 2 1/4in. A control joint, a saw cut and a slab edge all count.
There’s a second edge figure that matters more and gets quoted less. Alongside the minimum, ICC-ES publish a critical edge distance, and below it the anchor does not develop the tension capacity in their tables. For a deep-set 3/8in that’s 5 1/4in; for a deep-set 1/2in it’s 6 3/4in.
And the limitation nobody mentions at all. Trubolt anchors are limited to uncracked concrete, and may not be installed where cracking has occurred or where it is expected. Garage slabs crack. If your anchor point lands on a crack, on the spalled lip of a joint, or in a slab that has heaved, move it.
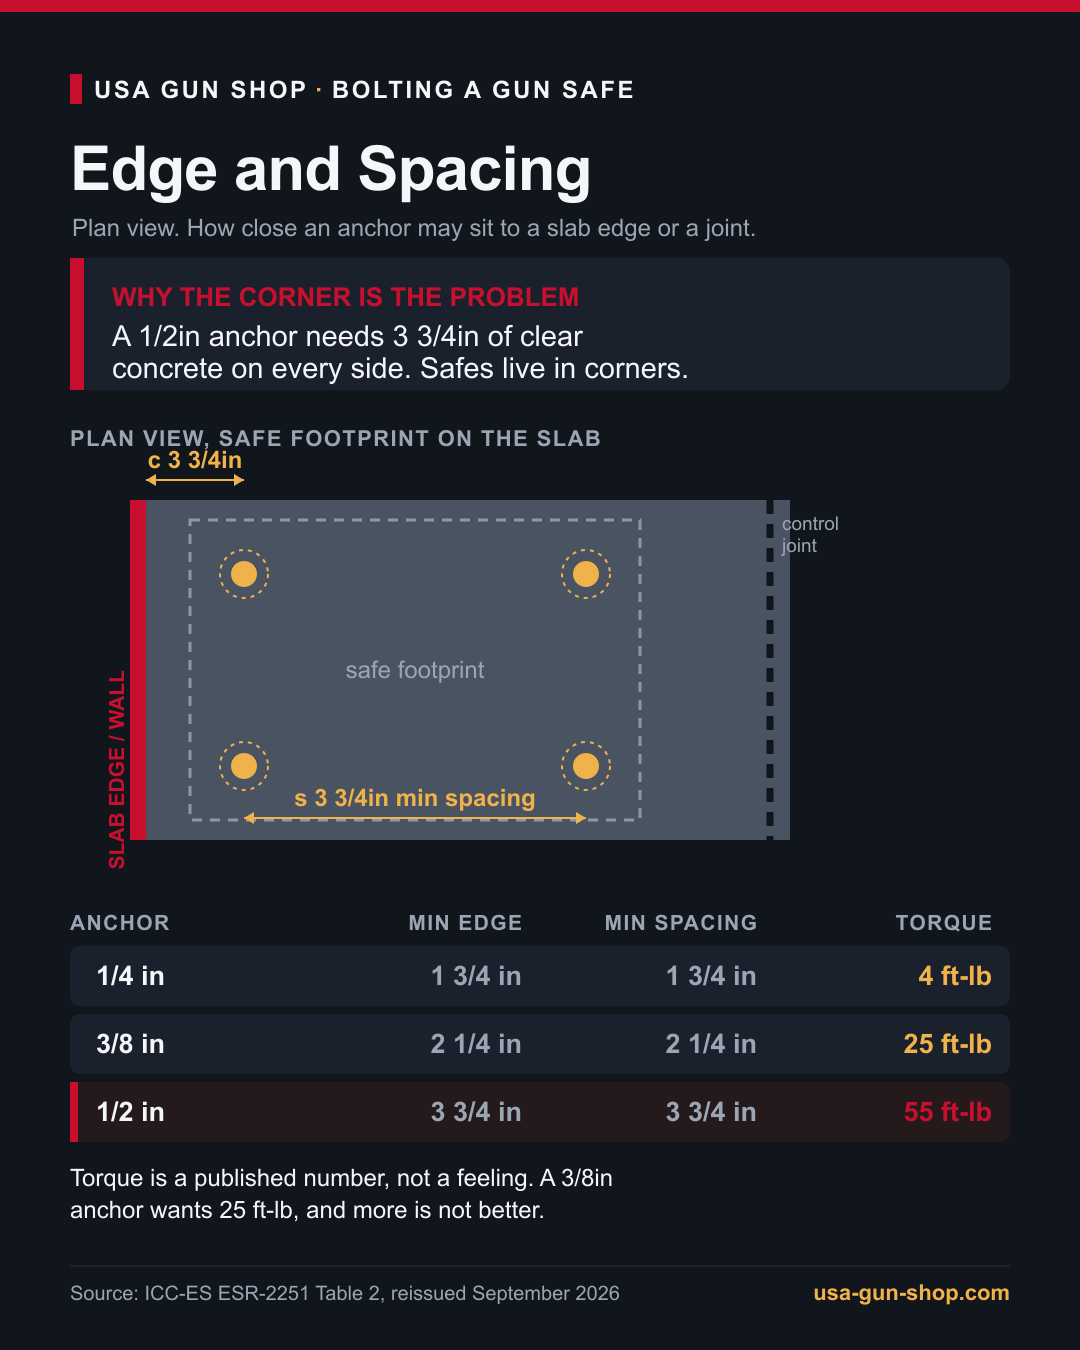
The first safe I anchored sat about two inches off a garage control joint and I had no idea that mattered. In practice this decides where the safe sits, not just where the anchors go. Pull the safe a couple of inches off the wall and the anchor nearest the edge gets legal, which is one more reason to leave that gap behind the safe anyway.
How to Bolt a Gun Safe to a Wood Floor
Wood is more forgiving to drill and less forgiving to get wrong. The whole job comes down to two things: hitting joists, and getting the fastener far enough into them.
Find the Joists First, Not After
Run a stud finder across the floor and mark the joists before the safe goes anywhere near its spot. You want all four bolts in solid framing, and if the hole pattern will not allow it, use the plywood plate below rather than settling for two. A lag into subfloor alone holds almost nothing, and it feels tight while it does it.
Two Holes, Not One
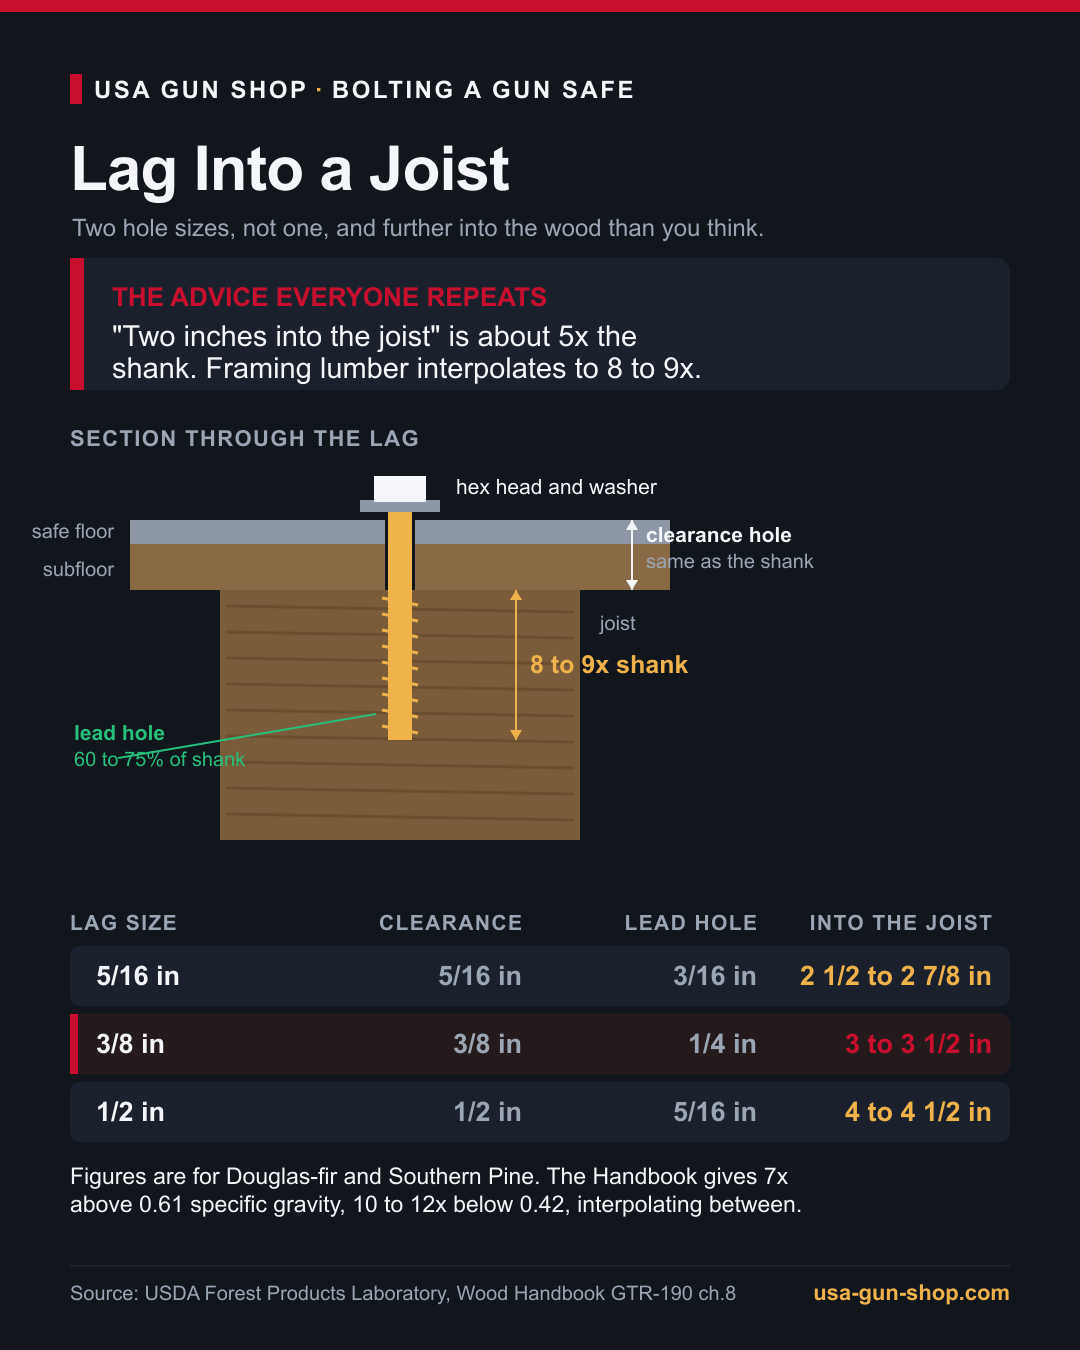
This is where most guides, including our old one, get it wrong. A lag screw takes two different holes. The Forest Products Laboratory specify a lead hole for the shank equal to the shank diameter through the parts being joined, and a smaller lead hole for the threaded part in the piece that’s holding.
That second hole is sized by species: 60 to 75 percent of the shank in Douglas-fir and Southern Pine, less in soft species like cedar and white pine, more in oak. For a 3/8in lag into ordinary framing that’s a 1/4in lead hole and a 3/8in clearance hole above it.
Go Deeper Than You Think
This is the number that matters most on the whole page. The figure repeated everywhere is two inches into the joist, which is about five times the shank diameter of a 3/8in lag.
The Forest Products Laboratory scope it by density: about seven times the shank above 0.61 specific gravity, 10 to 12 times below 0.42, with straight-line interpolation between. Douglas-fir sits near 0.50 and Southern Pine near 0.55, so ordinary framing interpolates to roughly eight or nine times the shank.
Eight or nine times 3/8in is three to three and a half inches of thread in the joist. Add the safe floor and the subfloor on top and you’re buying five inch lags, not three inch ones. I buy six inch by default and let the extra thread do nothing, because it costs a dime and the alternative is finding out you were short.
If your anchor holes miss the joists, don’t fudge it. Bolt a piece of 3/4in plywood to the joists first, then bolt the safe to the plywood. You get load spread over more framing and free choice of where the safe’s own holes land.
Engineered Joists Are a Different Animal
Those Wood Handbook figures are for solid sawn lumber, and plenty of houses built since the nineties do not have it. An I-joist is a thin OSB web between two small flanges, and a lag driven into the web has almost nothing to bite on.
The bottom flange is narrow and the joist makers restrict what you may fasten into it, so the safe answer under engineered framing is a plywood plate spanning several joists, fixed at the flanges, with the safe bolted to the plate. A look from the basement or the crawlspace tells you which kind of floor you have in about a minute.
Live pricing from our retail partners
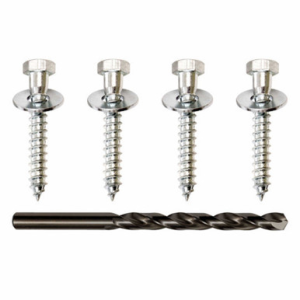
Anchor Types, and What Each One Is For
| Type | Best for | Removable | Watch out for |
|---|---|---|---|
| Wedge anchor | Solid concrete, permanent install | No, cut it flush | Needs the full hole depth and edge distance |
| Sleeve anchor | Concrete, brick, hollow block | Partly | Slightly lower holding power than a wedge |
| Drop-in anchor | A safe you may move later | Yes | Needs a setting tool, and sits flush |
| Concrete screw | Light vaults, supplementary anchors | Yes | Not a primary anchor for a full-size safe |
| Lag bolt | Wood subfloor into joists | Yes | Two hole sizes, and length is everything |
Wedge anchors are the default for a reason. They expand as you torque them and they hold more than anything else on this list. The trade is that they’re permanent, so if you might move the safe, spend the extra ten minutes on drop-ins.
Hollow concrete block is the one case where a wedge anchor is the wrong tool. There’s nothing solid for the wedge to expand against, so a sleeve anchor is the right call in a block wall or a block-filled garage curb.
How Many Anchors, and Do You Need Wall Bolts
Four. Use every hole the safe came with, and use the same size in all four. Two anchors will hold a safe still and will not stop it being levered, which is the thing you’re actually buying.
Wall bolts are a supplement, never a substitute. Drywall and a single stud cannot resist what a pry bar can apply, but two lag bolts through the back of the safe into separate studs, on top of four floor anchors, makes tipping it a non-starter. Hit studs, not board.
Tile, Carpet and Vinyl
Tile is the exception, and the usual advice to drill through carefully with a tile bit is wrong. Liberty say plainly that you can’t anchor a safe to a tile floor, because bolting it down puts too much pressure on the tile and cracks it.
They’re right, and the reason is the clamping load rather than the drilling. Tile is brittle and a torqued washer is a point load. If the safe has to live on tile, the honest options are to lift the tiles under the footprint and anchor into the slab, or to accept a cable-and-weight setup instead.
Carpet and vinyl are fine. Cut a small relief in the carpet at each hole so the washer bears on the subfloor rather than on compressed pile, and shim the safe level before you torque anything down.
What the Law Actually Requires
Worth being precise here, because a lot of pages are not. California SB 53 from the 2023-2024 session takes effect on January 1, 2026 and requires a firearm in a residence to be securely stored when it is not being carried or readily controlled.
Secure storage is defined as the firearm being kept in, locked by, or disabled with a certified firearm safety device or a secure gun safe that meets specified standards. That’s a standard for the DEVICE. The statute does not require you to anchor it.
So anchor the safe because it stops theft and stops tip-overs, not because a statute told you to. Our state-by-state storage law guide covers where the rules actually bite.
If You Are Renting
Ask before you assume the answer is no. Plenty of landlords are fine with four small holes in a garage or closet slab if you agree to patch them, and concrete patch compound makes that a ten-minute job on the way out.
If drilling really is off the table, a heavy braided cable through the safe’s own anchor hole to a stud or a structural point stops the grab-and-go theft, which is most of them. It won’t stop a determined crew with time.
Our apartment gun safe guide goes through the whole no-drilling security model, and where to put a gun safe covers picking the room before you commit to a floor.
Mistakes That Cost You the Anchor
Every one of these shows up on real installs, and every one of them leaves you with a safe that feels bolted down and isn’t.
Dust left in the hole. It’s the most common failure and the easiest to avoid. Vacuum, blow, vacuum.
A bigger anchor than the slab can take. Going up a size feels safer and is the opposite once the required concrete thickness passes what you have under you.
Anchoring too close to an edge or a joint. The slab splits, the cone of concrete the anchor relies on never forms, and the anchor holds a fraction of its rating.
An impact driver on a lag bolt. I have snapped a head off doing exactly this, and the stub is still in that joist. Ratchet it in by hand.
Over-torquing. Past the published figure you’re stretching the anchor and stressing the concrete around it. Set the wrench and stop when it clicks.
Where Bolting Fits in the Rest of It
Anchoring is one layer. A safe that’s bolted to a four inch slab with correctly sized 3/8in wedge anchors, sat in a room nobody walks through, with a lock and a steel gauge that match what’s inside it, is a genuinely hard target.
Check what your safe actually is in our RSC vs true safe breakdown, and if you’re still shopping, start with the gun safe buying guide or narrow it down with the best gun safes under $1,000.
Shop Gun Safes to Bolt Down
Best-scored accessories across 200+ retailers · Updated every 4 hours


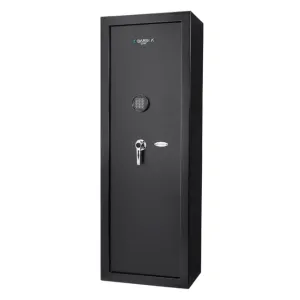
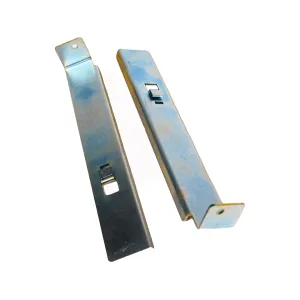
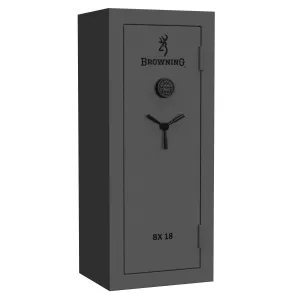
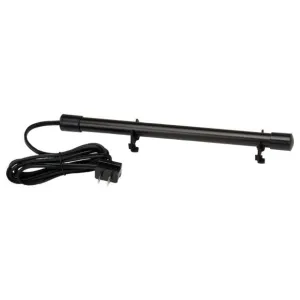
Compare Safes From 32 Retailers →
FAQ: How to Bolt Down a Gun Safe
What size anchors do I need for a gun safe?
It's set by your concrete, not by the safe. ICC-ES publish a minimum concrete thickness per anchor size, and a 1/2in wedge anchor at full embedment needs six inches of it. IRC R506.1 lets a house slab be as thin as 3 1/2 inches, and four is the common pour, so measure before you choose. At four inches the 3/8in anchor at its shallower embedment is the one that qualifies, which is why Liberty ship a 3/8in kit.
How deep do I drill for a gun safe anchor?
Drill to the anchor maker's hole depth rather than to a round number. For a Red Head Trubolt that is 2 1/2in for a 3/8in anchor at its shallower setting, 3 3/8in for the same anchor deep-set, and 4 1/4in for a 1/2in anchor at full embedment. Then clean the hole out completely, because dust costs you holding power.
How tight should gun safe anchor bolts be?
To the published installation torque, which is 25 ft-lb for a 3/8in Trubolt and 55 ft-lb for a 1/2in. Use a torque wrench and work around the four corners a bit at a time. Past that figure you're stretching the anchor and stressing the concrete around it.
How far into the joist does a lag bolt need to go?
Further than most guides say. The Forest Products Laboratory scope it by density: about seven times the shank above 0.61 specific gravity, 10 to 12 times below 0.42, interpolating between. Douglas-fir and Southern Pine land near eight or nine times, so a 3/8in lag wants three to three and a half inches in the joist and you buy five or six inch bolts once the safe floor and subfloor are added.
What size pilot hole for a lag bolt?
Two holes, not one. A clearance hole the same diameter as the shank through the safe floor and the subfloor, then a lead hole in the joist at 60 to 75 percent of the shank for Douglas-fir and Southern Pine. A 3/8in lag takes a 3/8in clearance hole and a 1/4in lead hole.
Can I bolt a gun safe to a tile floor?
Liberty say no, and they're right. Bolting through tile puts a point load on a brittle surface and cracks it, and that's the clamping force rather than the drilling. Lift the tiles under the safe's footprint and anchor into the slab beneath, or use a cable setup instead.
How close to the edge of a slab can I anchor?
A 1/2in Trubolt needs 3 3/4in of clear concrete to any edge and the same between anchors. A 3/8in needs 2 1/4in. There is also a larger critical edge distance, 5 1/4in for a deep-set 3/8in, below which the anchor will not make its rated tension. A control joint, a saw cut and the slab edge all count, and the anchors have to sit in uncracked concrete.
Do I need to bolt down a 1,000-pound safe?
Yes. Weight stops a casual thief and nothing else, because dollies, pry bars and jacks exist. Anchoring also stops the safe tipping when a loaded door is swung open, which is the risk that matters if there are children in the house.
Will bolting damage my concrete floor?
Four holes of 3/8in or 1/2in, patchable with concrete filler if you ever remove the safe. Wedge anchors can't be pulled back out, so you cut the stud flush with an angle grinder and fill over it. The damage is cosmetic and it's a fair trade.
Related Guides
5,380+ Gun & Ammo Deals
Updated daily from 200+ top retailers. Filter by category, caliber, action type, and price.
Related Guides